SOP — Getting started (pairing & sign-in)
For everyone. Do this once per device (pairing), then at the start of each shift (sign-in).
Pair a device
Turn a new tablet or phone into a RestAssist device. Done once, by a manager or admin.
An admin opens the Admin panel on a computer, goes to Devices, and taps Pair device — choosing the role (server, manager, kitchen, or inventory) and the venue/revenue centre. A 6-digit code appears.
On the new device, open the app. It shows the pairing keypad. Enter the 6-digit code.
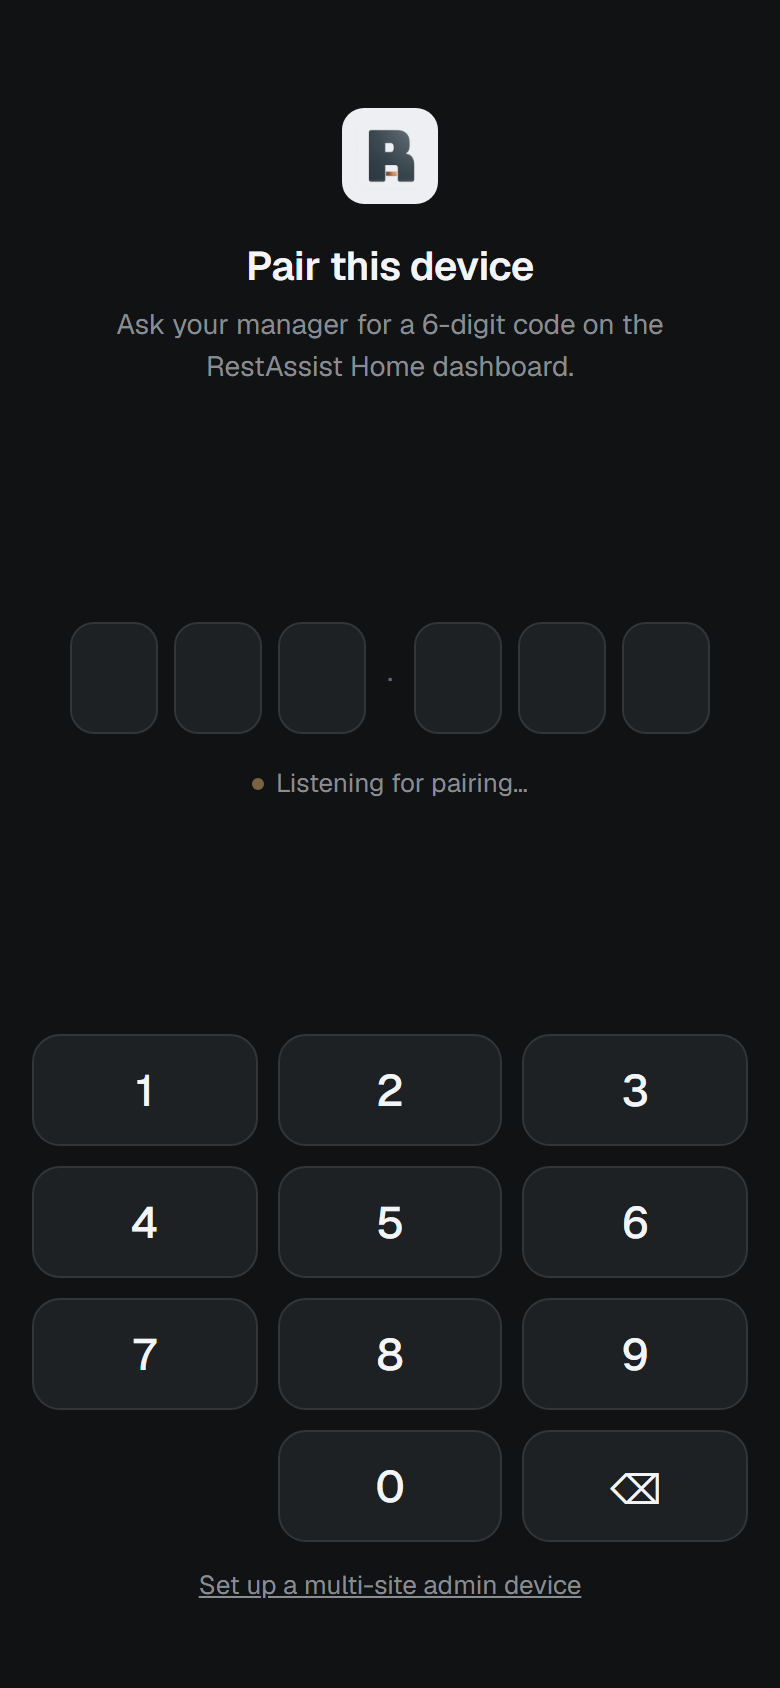
The device pairs and, from now on, opens straight into its surface — no code needed again. A pairing lasts about 90 days.
📷 On a real device you can also scan the pairing QR code shown in the admin panel instead of typing the digits.
Sign in for a shift
On a shared device, each person signs in so their work is recorded under their name.
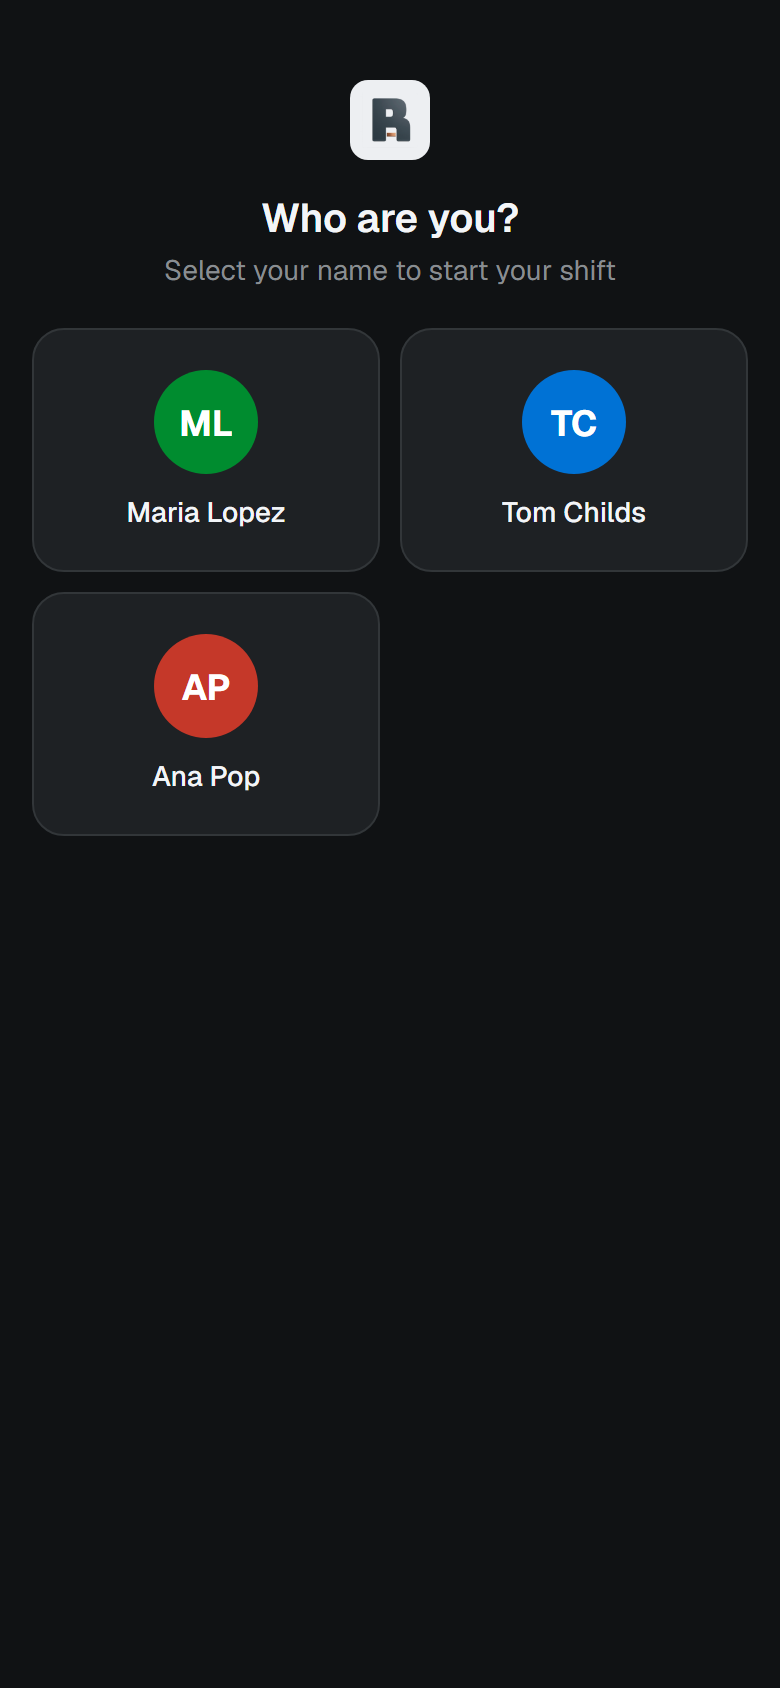
Tap your name on the sign-in screen.
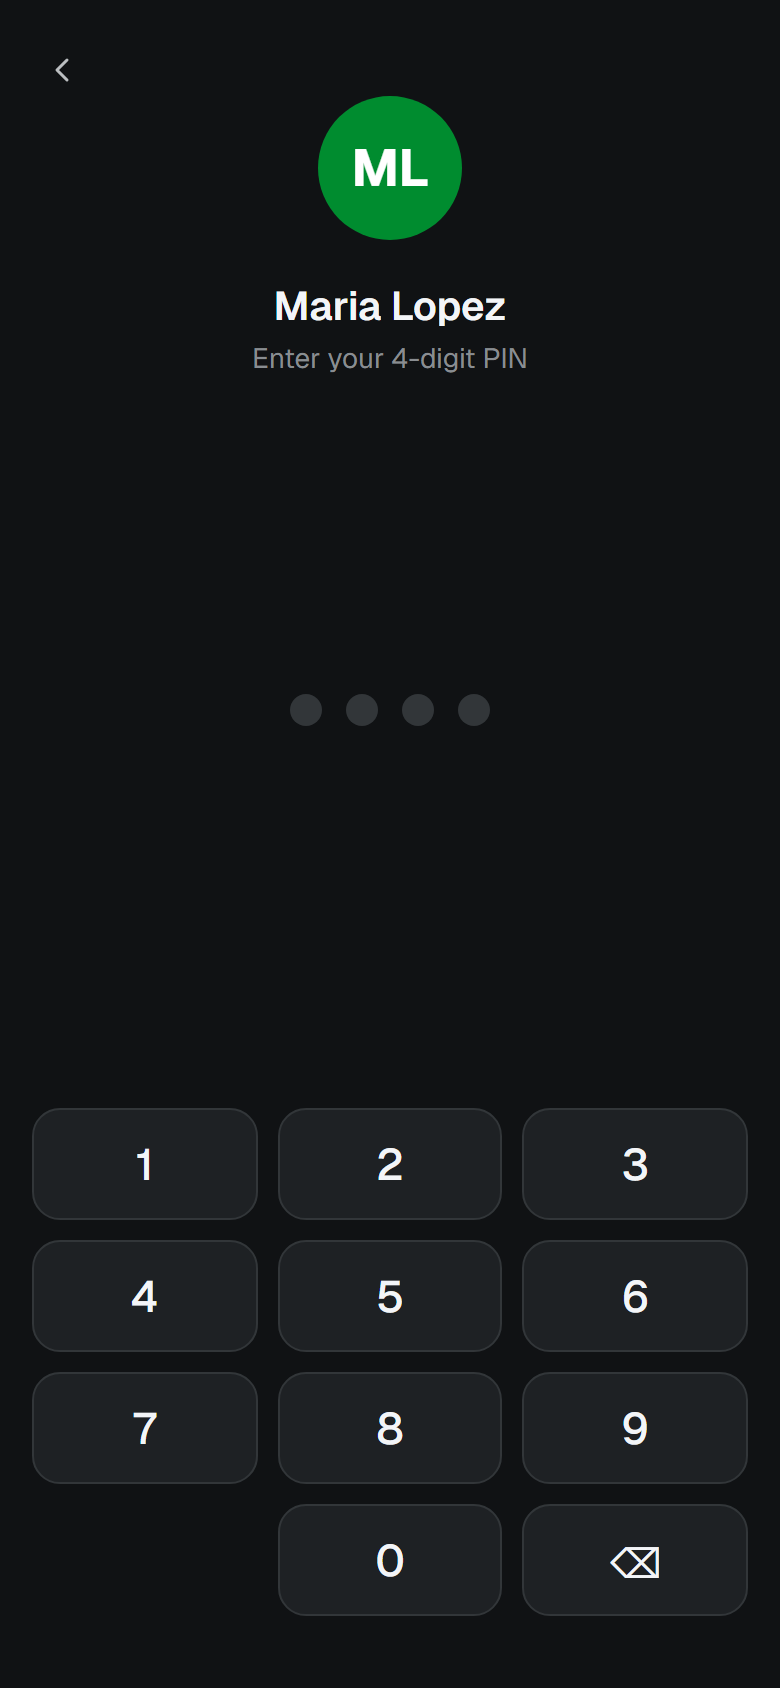
Enter your 4-digit PIN.
On Ordering and Operations, pick the revenue centre you're working in (you can mark others you're also covering), and you're on shift.
📷 If your venue uses staff badges, tap your Micros badge to the device instead of entering a PIN.
Wrong PIN? Just re-enter it — the device stays signed in. After several wrong tries a PIN locks; a manager unlocks it on the device or from the admin Staff screen.
End of shift: open the ☰ menu (top-right) → End shift. The device stays paired and returns to the sign-in screen for the next person. Shared devices also sign out on their own after a period of inactivity.